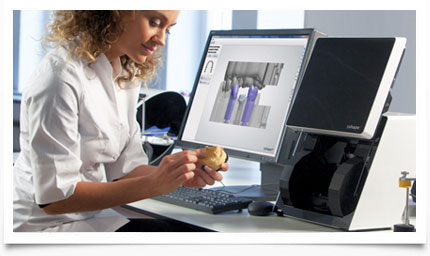
Geomagic Verify
Geomagic XOS
February 24, 2015
Texas Children’s Hospital conducts historical separation surgery of Mata conjoined twins
March 13, 2015Geomagic Verify is the safer, easier inspection software. Combine the power of contact and non-contact measurement with CAD intelligence to verify parts quickly and thoroughly. Verify makes inspecting parts easy and reduces the chance of inspection errors with its automated tools. Because Verify is feature intelligent, a few clicks are all it takes to define alignments, dimensions, tolerances and create reports. Inspect directly from CAD data – skip the interim steps that increase the chance for errors and waste time.
- Accurate, automated part inspection
- Simple, fast and reliable dimension and tolerance (GD&T) setup
- The only native point cloud software that supports every callout in the ASME Y14.5 standard
- Vivid deviation color maps for quick verification of part quality
- Compatible with every major 3D scanner and probe-based device
- Feature Intelligent Inspection
 Geomagic Verify has CAD intelligence built in, so defining measurements is as easy as clicking on a feature on a CAD model. It’s the only point cloud software that recognizes features, so you don’t have to extract reference geometry before you define dimensions and tolerances. On parts with hundreds or thousands of dimension/tolerance callouts, this saves hours of setup time, and reduces the risk of error by measuring directly from the CAD model. And if your 3D CAD models include GD&T information, Verify can import it all and use it immediately (available for Siemens NX, CATIA V5 and Creo).
Safer & Easier
Verify is easy to use. It’s straightforward, logical workflow makes setting up inspections simple, and it extracts every measurement automatically. Reproducibility is ensured by its automatic feature extraction algorithms, which reliably extract reference geometry from measurement data without user intervention. Deviation color maps reveal differences between the nominal and measured part with a glance. And editing inspection routines is easy with its patented parametric history tree.
Supports All 14 GD&T Callouts of the ASME Y14.5B Standard
Geomagic Verify is the only native point cloud software that offers every 2D and 3D GD&T callout. It supports in-depth GD&T functionality like material condition modifiers and multiple datum reference frames. Chances are, if it’s called out on your print, you can measure it with Verify.
Use Point Clouds and Probe Data In One Software
Verify is built from the ground up to handle hundreds of millions of points from virtually any 3D scanner. It also supports many probe based devices with LiveInspect, Rapidform’s easy to use interface for contact and non-contact measurement. Every measurement you take, regardless of the device it was collected with, is saved in Verify’s parametric history tree and can be used throughout the inspection routine.
Automatic Inspection Repetition
Because Geomagic Verify tracks every step of the inspection process, once you’ve inspected one sample of a part, every subsequent sample can be inspected automatically. Verify recognizes features in the scan data and measures them on the fly without any user interaction needed. So the next part you inspect is just one step from beginning to end. You don’t need to write macros to automate your work because Geomagic Verify records every step of the inspection and knows how to repeat it automatically.
Macro-free Inspection Process Automation
In Verify, you’ve got a simple interface similar to popular CAD applications, so running through the inspection process is a breeze. Just import the CAD nominal, open the scans of your part (or use LiveScan to run your 3D scanner inside Verify), and you’re ready to go. Every alignment, deviation color map, dimension and tolerance that you measure is added to the history tree, so you can track exactly what you’ve done and change anything at any time. No other point cloud metrology software lets you tweak your inspection process so easily. Imagine that you’re finishing up an inspection job, only to notice your part isn’t properly aligned to the CAD model – no problem! With Verify, you simply change the alignment, and the software recalculates every measurement and regenerates an inspection report.
Powerful Capabilities for the Most Demanding Applications
There’s a reason Geomagic Verify is used by almost every major automaker and thousands of other companies: it has in-depth functionality to complete the toughest inspection jobs. Sophisticated alignments, ANSI Y14.5b compliant GD&T and extensive deviation analysis capabilities let you perform detailed inspections of your parts. Sheet metal, castings, plastics, tooling and machined parts can all be measured and compared to CAD models in Verify.
Proven Accuracy
When it comes to inspection, every calculation counts. That’s why Geomagic Verify’s geometry calculation algorithms have been tested by America’s NIST, Britian’s NPL and independently certified by Germany’s PTB metrology authority as Class 1 accuracy. Top manufacturers around the world trust Geomagic Verify to measure thousands of parts every day.

